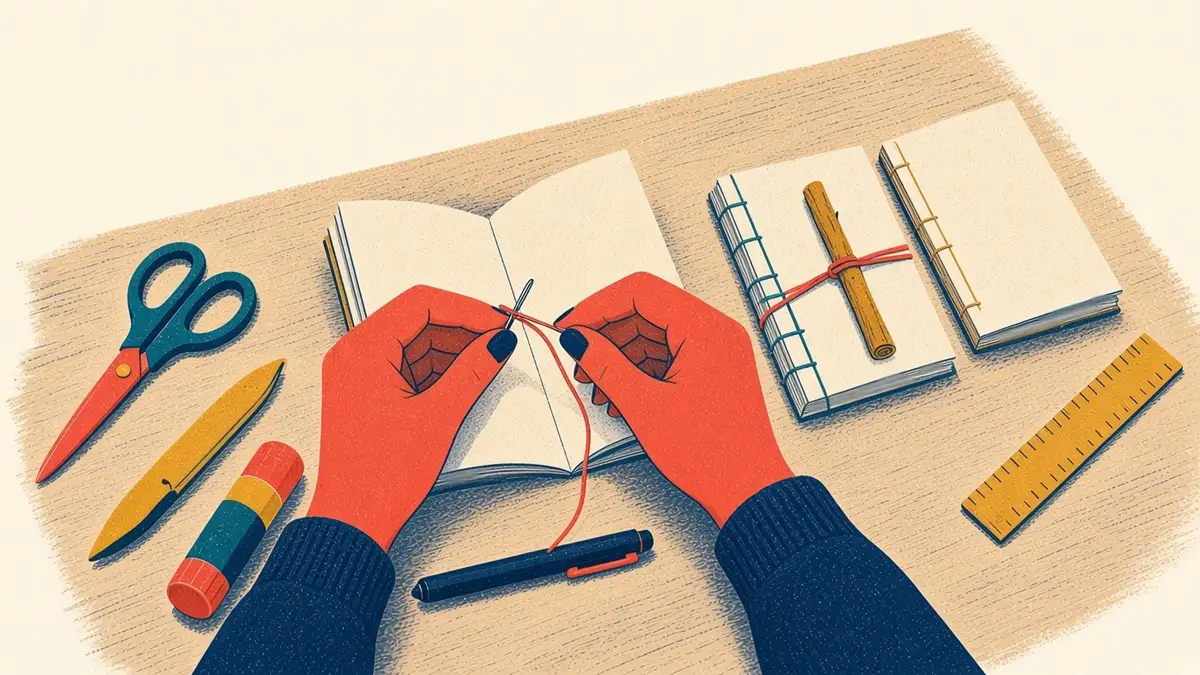
To sew a three-hole pamphlet stitch, pierce three holes along the fold of your nested zine: one in the middle and one about 1 inch from each end. From inside, go out through the middle hole leaving a 3-inch tail, in through the top hole, out through the bottom hole, then back in through the middle. Tie the tail and needle end in a square knot around the long inside stitch and trim.
In this guide
A pamphlet stitch binds a zine through its centre fold with a single length of thread. It is quiet, flexible and handmade, and once you have sewn two you will do it in ten minutes without looking at the instructions. It also opens a little flatter than staples and lets you choose a thread colour that becomes part of the design.
This tutorial covers the three-hole version, which suits almost every half-letter, A5 and smaller zine. For a comparison with staples, stab binding and the rest, see the guide to zine bindings.
Time: about 15 minutes · Difficulty: medium · Binds: 1 to about 8 nested sheets · You need: needle, thread about 3 × the spine length, an awl or pushpin, binder clips, scrap card
Before you start
- Nest the sheets in order and check them against your dummy. The sheet carrying the covers goes on the outside. If you are unsure of the order, the imposition guide shows every sheet for 8, 12 and 16 pages.
- Crease every sheet firmly with a bone folder or the back of a spoon before nesting.
- Choose thread. Waxed linen or waxed polyester bookbinding thread is ideal. Embroidery floss or strong cotton works too; drag it over beeswax or a candle stub a few times to stop it tangling.
- Cut the thread about three times the length of the spine. For a 5.5 × 8.5 in zine with an 8.5-inch spine, that is about 25 inches (65 cm).
The thread path
Here is the whole path before you sew. You start inside at the middle hole, go out, visit the top and bottom holes, and finish inside at the middle again.
Sewing the stitch
Step 1: Mark the holes
Open the zine to the centre spread. Mark three holes on the crease with a pencil: one exactly in the middle and one about 1 inch (25 mm) from the head and from the tail. On quarter-letter or A6 zines, use about 0.75 inch (2 cm) for the end holes. The free actual-size hole guides let you skip the ruler: lay the strip in the fold and mark through it.
Step 2: Pierce the holes
Clip the sheets together at the head and tail with binder clips. Open the zine at the centre over a piece of scrap card, a folded towel or an old phone book, and push the awl straight through each mark, exactly on the crease, so it passes through every sheet. Angle the awl slightly into the fold. A pushpin works for thin zines.
Step 3: Go out through the middle hole
Thread the needle. From the inside of the centre spread, push the needle out through the middle hole and pull the thread through, leaving a tail of about 3 inches (8 cm) inside. Hold the tail down with a finger.
Step 4: Go in through the top hole
On the outside of the spine, take the thread up to the top hole and push the needle in through it. Pull it snug, along the spine rather than away from it.
Step 5: Go out through the bottom hole
Inside, carry the thread down past the middle hole without going through it, and push the needle out through the bottom hole. You now have one long stitch on the inside running from top to bottom.
Step 6: Come back in through the middle
Outside, bring the thread back up to the middle hole and push the needle in. Aim so the needle comes out on the opposite side of the long inside stitch from the tail. This is what lets the knot trap the long stitch.
Step 7: Tighten and tie a square knot
Gently pull both ends to remove slack, tightening each stitch in order. Then tie the needle end and the tail together around the long inside stitch with a square knot: right over left, then left over right.
Step 8: Trim and finish
Trim both ends to about 0.5 inch (1 cm), or leave them long as a decorative tassel. Close the zine and press the spine flat under a heavy book for a few minutes. If the inner sheets stick out at the fore-edge, trim them flush with a sharp knife and a metal ruler.
Troubleshooting
| Problem | Likely cause | Fix |
|---|---|---|
| Paper tears at a hole | Thread pulled away from the spine, or holes too big | Always pull along the spine; use a finer awl |
| Binding feels loose | Stitches not tightened in order before the knot | Undo the knot, tighten each stitch from the start, re-tie |
| Knot slips undone | Granny knot instead of a square knot | Re-tie: right over left, then left over right |
| Holes do not line up through the sheets | Sheets shifted while piercing | Clip the sheets; pierce exactly on the crease |
| Inner pages stick out | Creep from nested sheets | Trim the fore-edge after binding; keep text 0.25 in from the edge |
Variations
- Five holes. For tall zines, card covers or more sheets, mark five evenly spaced holes with the outer ones about 1 inch from the ends. Start inside at the middle, sew out to one end and back across, and tie around the long stitch in the middle.
- Knot outside. Start from the outside instead and the knot finishes on the spine, where you can add a bead or leave long tails.
- Wrap cover. Fold a sheet of card around the outside and pierce through it with the inside pages, so one stitch binds both.
- Coloured thread. Match it to the cover ink. It is the cheapest way to make a stapled-looking zine feel special.
Get the hole guide
The free reader bonuses include actual-size hole guides for 3-hole and 5-hole pamphlet stitch on 8.5-inch and 5.5-inch spines, plus A5 and A6. The Complete Zine Making Handbook covers the five-hole stitch with a wrap cover and Japanese stab binding as full projects with numbered thread paths.
Frequently asked questions
How long should the thread be for a pamphlet stitch?
About three times the length of the spine is enough for a three-hole stitch, with comfortable tails for the knot. For an 8.5-inch spine that is roughly 25 inches (65 cm). A five-hole stitch needs a little more, about three and a half times the spine.
Where do the holes go on a pamphlet stitch?
On the fold: one exactly in the middle and one about 1 inch (25 mm) from each end. On a small quarter-letter or A6 zine, place the end holes about 0.75 inch (2 cm) from the head and tail.
Should the knot be inside or outside?
The traditional pamphlet stitch is tied inside the centre spread, so the outside spine shows only clean stitches. Some makers deliberately tie it outside and leave decorative tails or a bead; both are fine.
What is the difference between a pamphlet stitch and a saddle stitch?
Both bind through the centre fold. Saddle stitch is the general term for any binding through the fold, and in commercial printing it usually means wire staples. A pamphlet stitch is the hand-sewn version with needle and thread.
How many sheets can a pamphlet stitch hold?
A three-hole pamphlet stitch comfortably binds one to about eight nested sheets of copy paper (4 to 32 pages). For tall zines or card covers, use five holes; for thicker books, sew several signatures together with a multi-section binding.