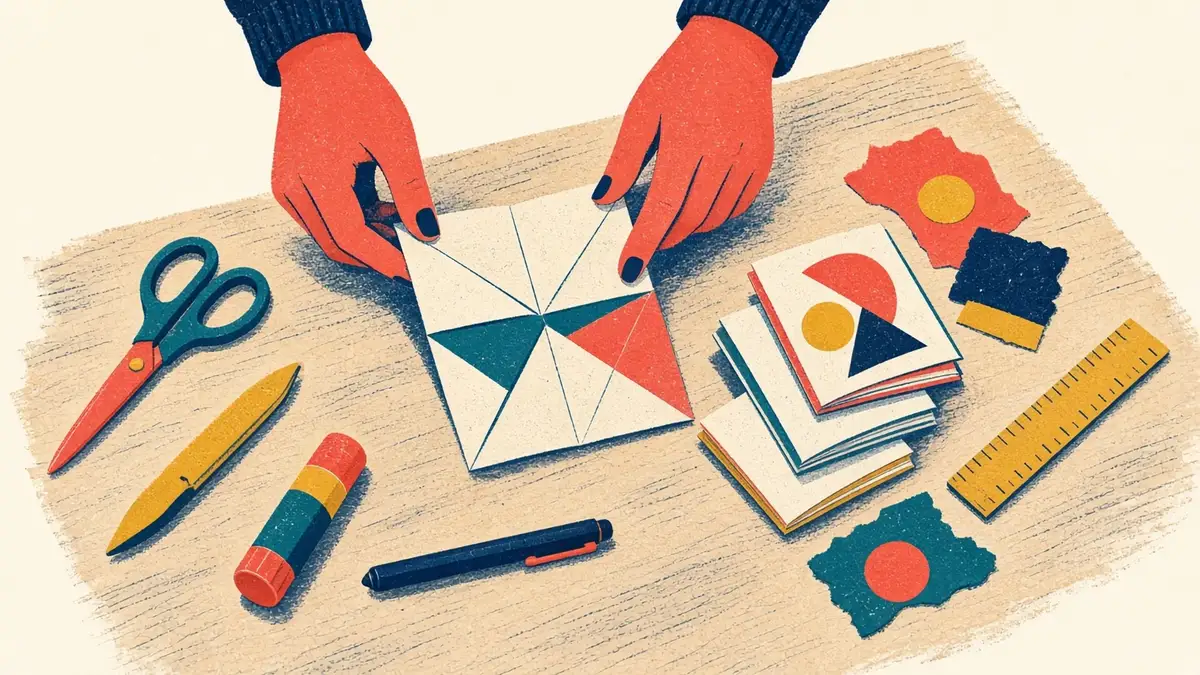
Lay a sheet of Letter or A4 paper landscape and crease it into eight panels: fold it in half both ways, then fold each short edge to the centre. Fold it in half short edge to short edge and cut along the middle crease, from the fold to the next crease only. Open it, fold it lengthwise, push the ends together until it forms a plus shape, and flatten it into an eight-page booklet.
In this guide
The one-sheet mini zine is the fastest way from an idea to a finished booklet in your hand. You need one sheet of paper and a pair of scissors: no stapler, no glue, no special paper. Once you have folded one, you can make a hundred, and every other format builds on what you learn here.
This tutorial gives you the page map first (so your pages come out in order and the right way up), then the eight folds, then the fixes for the problems everyone hits once.
Time: about 10 minutes to fold · Pages: 8, covers included · Finished size: 2.75 × 4.25 in from US Letter, A7 (74 × 105 mm) from A4 · You need: one sheet of paper, scissors, a pencil
The page map: where each page goes
Before you draw anything, you need to know where each page sits on the flat sheet. The sheet is divided into eight panels in two rows of four. Each panel becomes one page.
- Bottom row, upright, left to right: pages 6, 7, 8 (back cover), 1 (front cover).
- Top row, upside down, left to right: pages 5, 4, 3, 2.
- The cut runs along the centre line across the two middle panels only.
Why is the top row upside down? Because in step 6 you fold the sheet in half along that long centre line, so the top row ends up behind the bottom row, flipped over the fold. Anything drawn upright up there would come out upside down in your hands.
Neighbouring panels become facing pages. Pages 2 and 3 sit side by side on the top row, as do 4 and 5, so each pair opens as a spread you can design across. The covers, 1 and 8, are neighbours too: they wrap around the outside.
Take a blank sheet, write a small pencil number in each panel exactly as in the map above, then fold it with the steps below. Flip through: the numbers should read 1 to 8 in order and the right way up. Keep this numbered dummy beside you while you plan your real pages.
The eight folds
Work on a hard, clean table. Lay the sheet landscape (long side at the top), printed side up if you have already drawn your pages, with page 1 at the bottom right. Steps 1 to 3 are folded, pressed and opened again: you are making a grid of guide creases.
Step 1: Fold top to bottom
Bring the top edge down to meet the bottom edge. Line up the corners, hold them, then press the fold flat from the middle outward. Open the sheet flat again.
Step 2: Fold left to right
Bring the left short edge across to the right short edge, line up the corners and crease. Open it again. You now have a cross of creases dividing the sheet into four.
Step 3: Fold both edges to the centre
Fold the left edge in to meet the vertical centre crease and press. Open it. Do the same with the right edge. The sheet now shows eight panels, two rows of four, matching the page map.
Step 4: Fold in half and cut
Fold the sheet in half along the vertical centre crease, short edge to short edge, so it is half its width. Starting at the folded edge, cut along the horizontal centre crease through both layers. Stop at the next vertical crease, one panel width in (2.75 in on Letter, 74 mm on A4).
Step 5: Open and check the slit
Open the sheet flat. You should see a single slit along the centre line, running across the two middle panels only. The outer panels at each end are not cut. Those uncut joins are what hold all eight pages together: cut too little and the zine will not open, cut too far and the rows come apart.
Step 6: Fold it lengthwise
Turn the sheet so the printed side faces you, with page 1 at the bottom right. Fold the top half behind along the horizontal centre crease, so the folded edge is at the top. You now hold a long strip showing pages 6, 7, 8 and 1, with the slit along the top.
Step 7: Push the ends together
Hold one short end in each hand, folded edge up, and gently push the ends towards each other. The slit opens in the middle: the front layer bulges towards you and the back layer moves away. Seen from above, the opening is a diamond. Keep pushing until the ends meet and the middle forms a plus shape with four arms.
Step 8: Collapse it into a booklet
Each arm of the plus is one leaf of the zine, with a page on each face. Fold all the arms flat around the spine so page 1 faces you and page 8 is on the back. Press the spine fold flat.
Check your zine: page 1 is on the front, page 8 is on the back, pages 2 to 7 read in order the right way up, and no cut edge shows on the outside covers. If any check fails, unfold it and compare your sheet with the page map. Usually just one page is misplaced.
Planning what goes on eight pages
Two of your eight pages are covers, which leaves six pages, or three spreads, for content. Plan with a simple shape:
- Page 1: title, one strong image, your name.
- Pages 2–3: the hook. Why this subject?
- Pages 4–5: the heart of it, one idea per page.
- Pages 6–7: the payoff, an ending, or what to try next.
- Page 8: credits, date, contact or handle, and a price or “free”.
Handwritten, a mini zine page comfortably holds about 40 to 70 words. If you need more room, that is a sign to move up to a half-letter booklet.
Troubleshooting
| Problem | Likely cause | Fix |
|---|---|---|
| Pages 2–5 are upside down | The top row was drawn upright | Rotate every top-row page 180° so its head points at the centre line |
| Pages come out of order | Panels swapped, or page 1 started in the wrong corner | Page 1 bottom right in step 6; redo the pencil test |
| The zine falls apart | The slit runs into the outer panels | Cut only across the middle two panels; tape small overcuts inside |
| It will not open into a plus | The slit stops short of the creases | Re-fold step 4 and extend the cut exactly to the crease |
| Art is cut off at the edge | Home printers cannot print the outer ~0.2 in | Keep art in the safe area, or print the master at 97% |
| Folds crack | Paper too heavy or folded against the grain | Use 24 lb / 90 gsm paper; score heavier sheets first |
Variations worth trying next
- The secret poster. Print one big image on the back of the sheet. Readers who unfold the zine discover a poster. Keep faces and words away from the centre line, where the slit goes.
- A mini comic. Eight panels, one story beat per page, with the top row drawn upside down. The free template pack includes an 8-panel comic sheet.
- Bigger sheets. The fold works on any rectangle. US Legal gives 3.5 × 4.25 in pages, Tabloid gives 4.25 × 5.5 in and A3 gives A6.
- Coloured or kraft paper. Changes the mood for almost nothing.
Get the template
Print the actual-size one-sheet template for US Letter or A4 from the free reader bonuses. It has every panel labelled, the head of each page marked, the single cut line in coral, and a line-free blank master for photocopying. When you are ready for 12 and 16-page booklets, accordions, map folds and sewn bindings, the full method is in The Complete Zine Making Handbook.
Frequently asked questions
What size is a mini zine made from one sheet?
Each page is one quarter of the sheet's long side by half its short side. From US Letter (8.5 × 11 in) the pages are 2.75 × 4.25 in. From A4 they are 74 × 105 mm, which is A7. From Tabloid (11 × 17 in) they are 4.25 × 5.5 in.
Why are half the pages upside down on the sheet?
The sheet folds in half along its long centre line, so the top row of panels ends up flipped behind the bottom row. Drawing the top row upside down makes those pages the right way up in the finished zine.
Which way do I lay out the pages?
With the sheet landscape, the bottom row reads 6, 7, 8 (back cover), 1 (front cover) from left to right, upright. The top row reads 5, 4, 3, 2 from left to right, upside down. The tops of all eight pages meet at the long centre line.
Do I need glue or staples?
No. The uncut panels at each end hold the zine together. A single staple or a dab of glue in the spine can make a mini zine sturdier for handling at fairs, but it is optional.
Can I photocopy a mini zine?
Yes. Make your pages flat on an unfolded sheet (the master), copy it single-sided at 100%, then fold and cut each copy. The back of the sheet stays hidden inside, so you can also print a secret poster there.